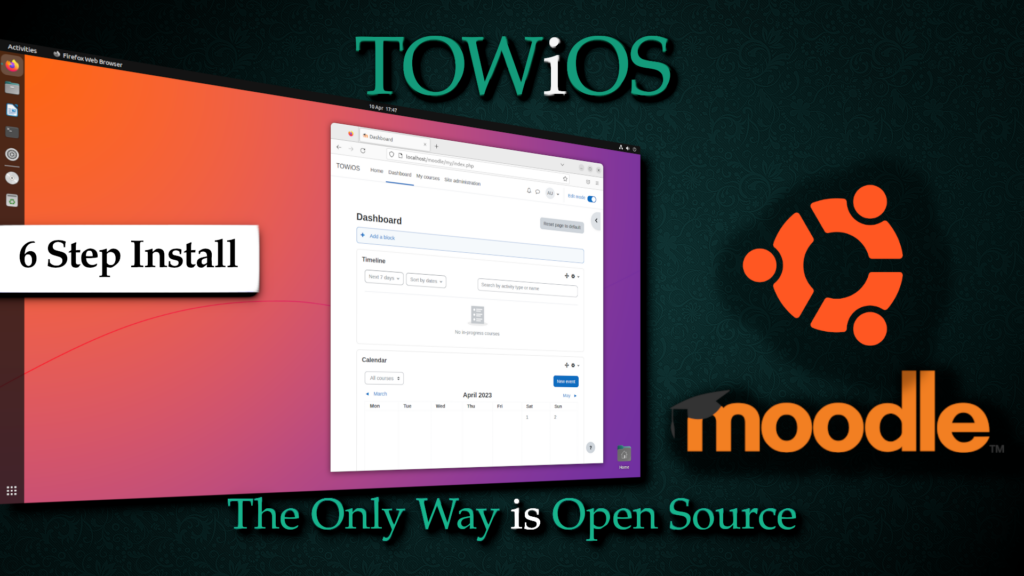
6 Easy steps to install MOODLE on Ubuntu!
(If you use these instructions you do so at your own risk. They are not considered ‘perfect’, and are purely for testing purposes.)
DOWNLOAD PDF GUIDE: https://github.com/TOWiOS/MOODLE-Ubuntu
USE YOUTUBE GUIDE: https://www.youtube.com/watch?v=K2NW93LKJhQ&t=480s
1> INSTALL SOFTWARE
Install packages for apache, mysql and php:
sudo apt install apache2 mysql-client mysql-server php libapache2-mod-php graphviz aspell ghostscript php-pspell php-curl php-gd php-intl php-mysql php-xml php-xmlrpc php-ldap php-zip php-soap php-mbstring
You will be asked to continue:
Do you want to continue? Y/n (Enter)
Note: At the time of writing this guide, Ubuntu installed version 8.1 of php. (Yours may be newer – make a note of the version.)
2> WEB SERVER (APACHE2) SETUP
Amend the php.ini file (note: Your php version may vary):
sudo nano /etc/php/8.1/apache2/php.ini
- Remove the comment (semi-colon) by line: max_input_vars
- Increase the size of max_input_vars to at least 5000
- Locate upload_max_filesize and change value to = 20M
- Locate max_file_uploads and change value to = 40
Restart the web server:
sudo service apache2 start
Check the webserver is running:
Load firefox and go to – http://localhost

3> DOWNLOAD MOODLE
Note: The version of Moodle may vary. At the time of writing, it was 401. Step 2 – enter the relevant username, and Moodle version.
Download the latest .tgz Moodle file:
https://download.moodle.org/releases/latest/
Extract the downloaded file to:
sudo tar -zxvf /home/username/Downloads/moodle-latest-401.tgz –directory /var/www/html/
4> MYSQL SETUP
Note: Anything underlined can be changed to suit your needs – but remember the details for later.
Start mysql:
sudo service mysql start
Log into mysql:
sudo mysql -u root -p
Enter password (enter)
Create moodle database:
CREATE DATABASE moodle DEFAULT CHARACTER SET utf8mb4 COLLATE utf8mb4_unicode_ci;
Check database was created:
show databases;
Create database user:
create user ‘moodleuser‘@’localhost’ IDENTIFIED BY ‘password123’;
Assign database permissions:
GRANT SELECT,INSERT,UPDATE,DELETE,CREATE,CREATE TEMPORARY TABLES,DROP,INDEX,ALTER ON moodle.* TO ‘moodleuser‘@’localhost’;
Leave mysql:
quit;
5> WEB SERVER PERMISSIONS
Set permissions for the web server:
sudo chown -R www-data /var/www
sudo chmod -R 755 /var/www
Create directory for moodle data:
sudo mkdir /var/moodledata
Assign permissions to moodle web directories:
sudo chown -R www-data /var/moodledata
sudo chmod -R 777 /var/moodledata
sudo chmod -R 0755 /var/www/html/moodle
Restart the web server:
sudo service apache2 restart
6> INSTALL MOODLE
- Firefox, go to: http://localhost/moodle
- Language: en (NEXT)
- Confirm Paths:
web address = http://localhost/moodle
Moodle directory = /var/www/html/moodle
Data directory = /var/moodledata
(NEXT)
- Choose database driver: Improved MySQL (native/mysqli)
(NEXT)
- Database Settings:
host: localhost
database name: moodle
database user: moodleuser
database password: password123
(NEXT)
- Copyright notice: Read
(CONTINUE)
- Server Checks: (Everything should be green ‘ok’ – You may have a warning re HTTPS which is expected for this)
(CONTINUE)
The system will then install – this can take a few moments, be patient. You will know when it is finished as it will ask you to: ‘CONTINUE’.
- Configure your main administrator account – General:
username: admin
choose authentication method: Manual accounts
*New password: Complex123!
*First name: Admin
*Last Name: User
*Email Address:
Email visibility: Hidden
City/Town:
Country: United Kingdom
Timezone: Europe/London
Description:
Additional Names: (leave as is)
Optional: (Leave as is)
(UPDATE PROFILE)
- New settings – site home settings:
Full site name: The Only Way is Open Source
Short name: TOWiOS
Site home summary: leave blank.
Location: Europe/London
Manage authentication: leave default – Disable
Support contact: enter an email address in.
Outgoing mail configuration:
(SAVE CHANGES)
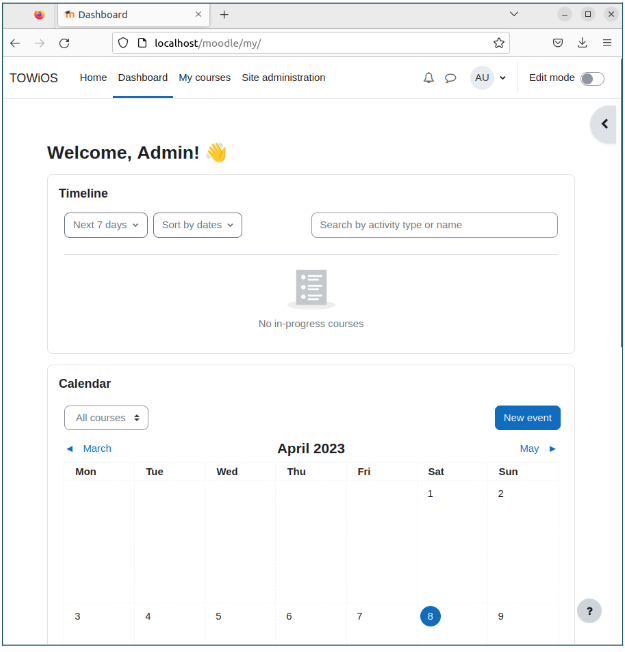
Finished – Dashboard page loads for the admin user:
Note: http://localhost/moodle will now load the installed Moodle site by default.